Tuesday 25 November 2014

Finishing the 3010 side of the duplex


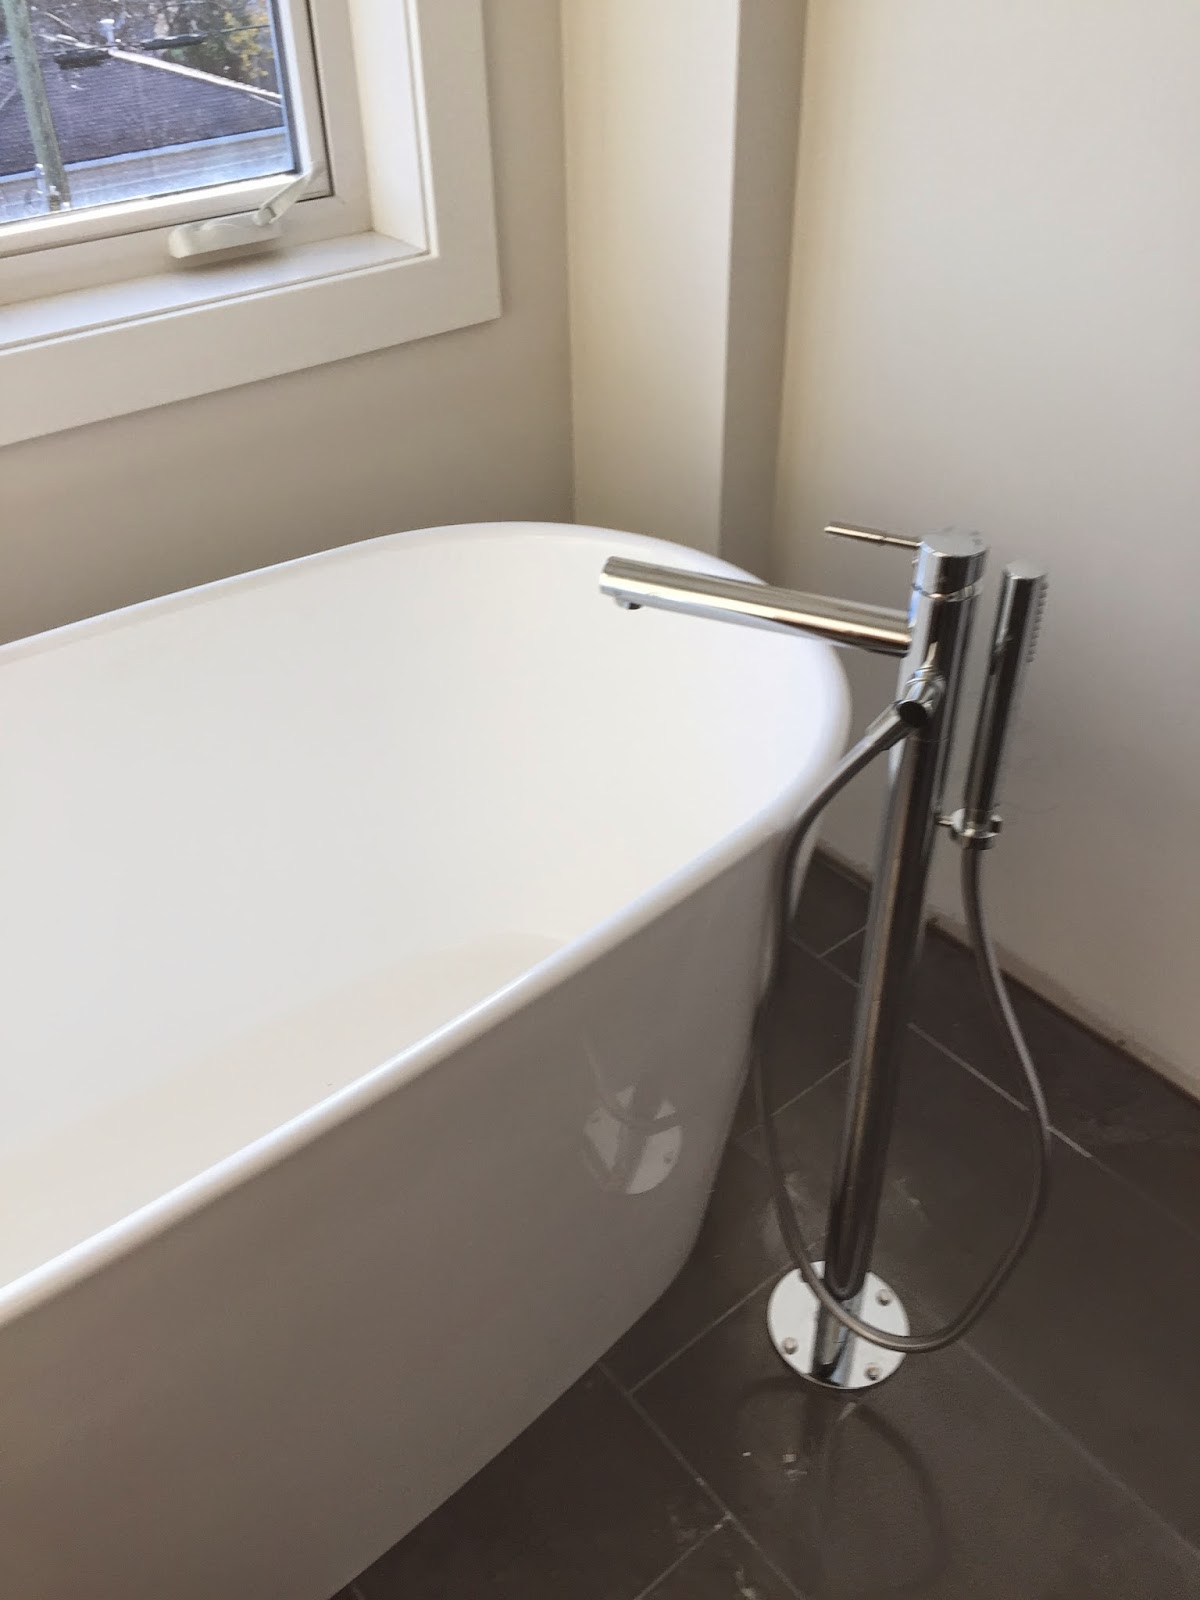
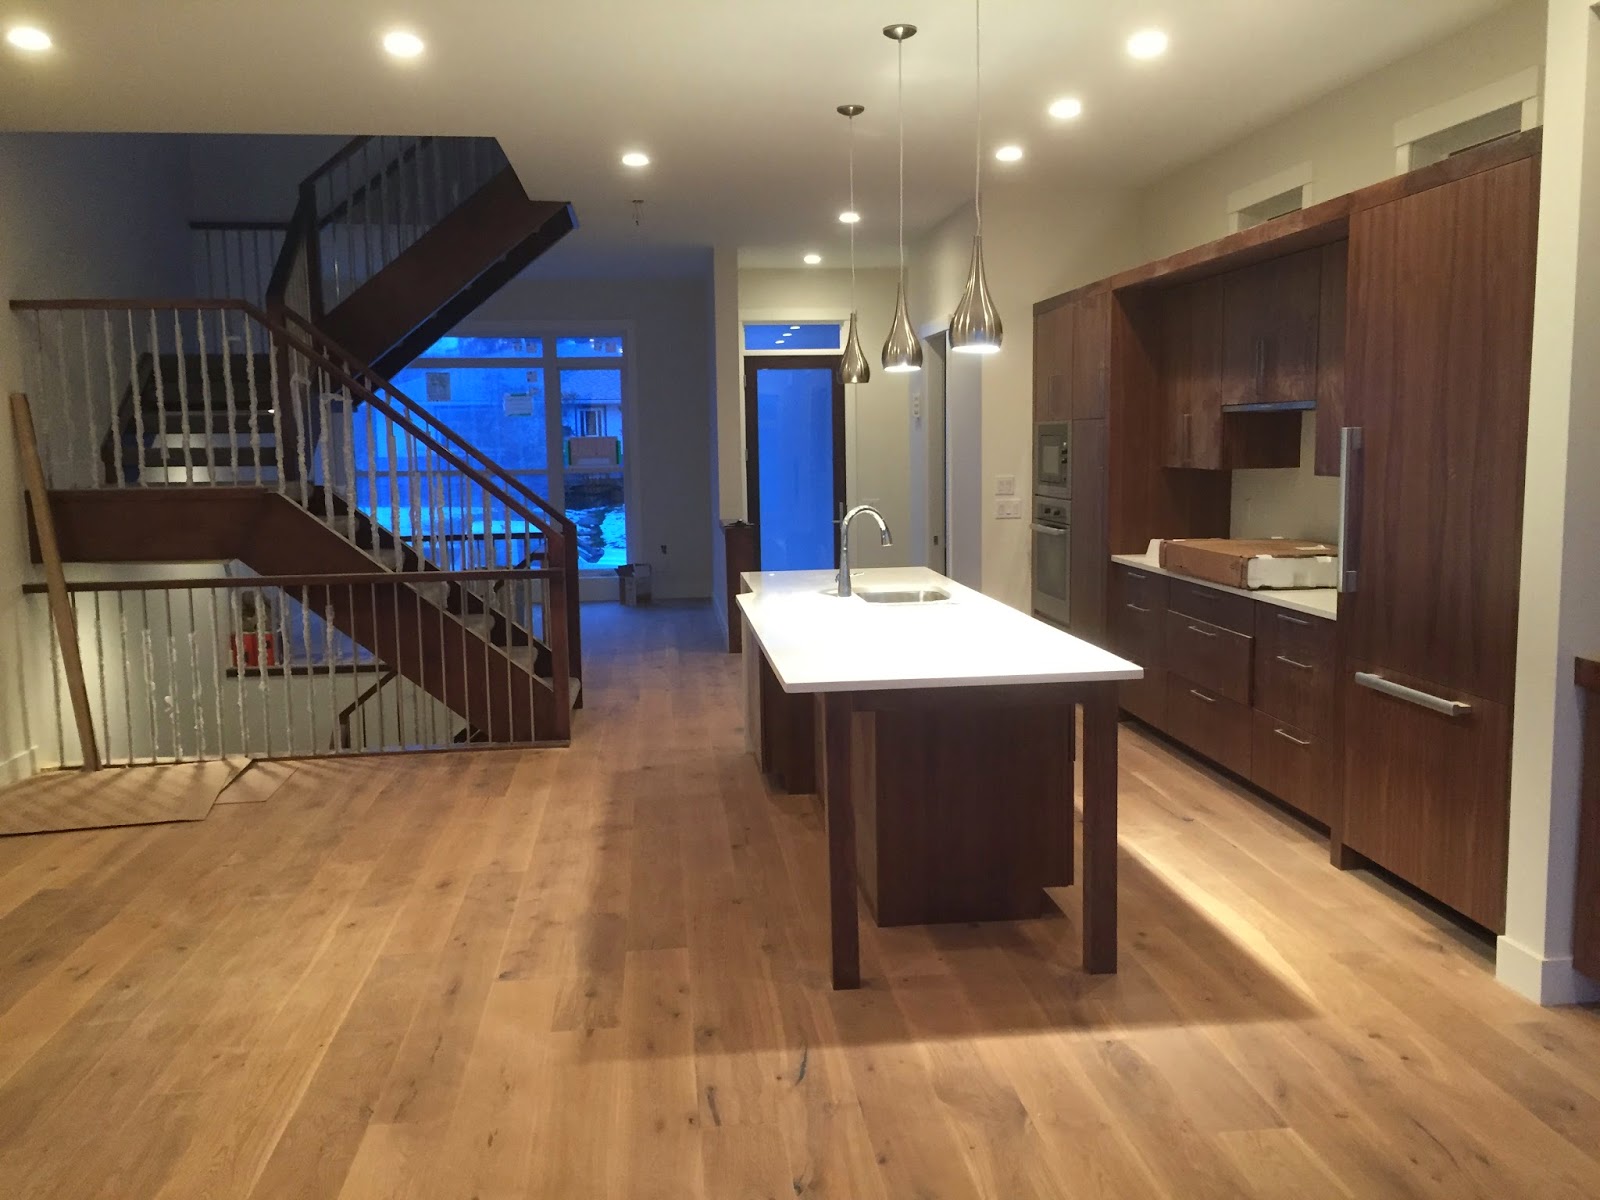
With the 3012 unit complete, we are focusing further attention on getting 3010 finished so it can be sold.  With plans to start a new three unit townhouse about 10 blocks away, we would like to get the second half of the duplex sold so we can finance the new project more easily.  

Here are todays photos of the main floor of 3010.

kitchen is complete and appliances are installed

ready for construction final cleaning to begin


Finishing touches

While the pace on site appears to have slowed, many of the minor yet time consuming details are still being completed.  Selecting and ordering furniture, setting up the office, and a series of touch ups and dust removal clean ups has now been completed.  All of the appliances and bath fixtures have been used and adjusted, and glass hardware installed.  Here are some photos of the ongoing efforts

office storage system is being assembled

desk is installed and wood top stained.  

glass doors are installed in the master bathroom shower

walnut rail cap has two coats of stain and is finished

Friday 7 November 2014

Al13 architectural cladding


With the stucco and other exterior materials having been completed over the summer months, the final siding component to clad the front of the project was finally ready to be installed.  The Al13 material is an aluminum sandwich panel that is fastened to the wall with trims and a support structure rather than using exposed fasteners.  It is a painstaking process to get the substructure done properly so that the finished product looks good.  Fortunately our install team did a careful job.  Here are some recent pictures.

metal structure is applied to the wall to support the finished panels

  
the panel install is underway

the panel install is nearing completion

Finishing update

With the first home nearing completion, many of the small yet time consuming tasks are being finally completed, including project elements that have been planned or in progress for many months.

While trim was being installed, the barn door hardware was ready to be hung on the master bathroom door opening.
barn door is ready for final hardware install


The basement entertainment area is nearer to completion, with speaker installation complete.

three front speakers installed in the wall cavity

rear ceiling speakers installed

Final setting of plumbing fixtures is now complete

island fixtures are installed

bathroom fixtures are tested

The final thermostats are installed

main floor thermostat

schluter makes the in floor tile heating system, appears complex to program
Fireplaces are cleaned and prepped so the gas can be turned on.


Sunday 26 October 2014

Quartz island install


The island counter top was the last quartz piece to be installed.  Not only is it the biggest slab possible for our supplier to deliver (at 118 inches), it also features a mitred joint on the side facing the front entry.  The second piece of quartz covers the side of the island and is another nice design element.  The island counter also features a nice square edge sink, a faucet by grohe, and two integrated soap dispensers to help eliminate clutter from the work surface.

The sink is installed and the tap is fitted to ensure it is in the correct location.   The accessory soap dispensers are being prepped for drilling through the quartz.

The island countertop is ready for the second piece to be trimmed at the shop and delivered

Tile progress part 6 - grouting


With all of the tiling complete except for the basement bathroom (tile for walls was back ordered and recently arrived and will be installed soon), the grouting could be completed.  Silicon of corners exposed to water is the final step


Master bedroom closet components

With the hardwood floor complete and the upper level largely clear of dust and debris, it was an ideal opportunity to get the master closet components installed.  Some of the wardrobe units have doors, and others are left open.  


Master tub

A freestanding tub model by aquabrass was selected for the master bath along with a matching floor mount faucet. Moving the tub from the back of the truck to the second level proved to be exceptionally difficult since it weighed more than 300 pounds.  Four people definitely struggled to get it upstairs.  Due to the difficulty in moving the tub and its expense we may not use this stylish unit again.  With the tub and tub filler connected the master bathroom plumbing fixture install is nearly complete.


Tuesday 21 October 2014

Metal interior railing install

With final adjustments made last week the railing material was sent to be sandblasted and powder coated.  The powder coating in white is an extremely durable and low maintanence baked on finish.  With the metal material delivered on site, the careful installation could take place.  The metal mesh infill is a substitute for glass as it is 52% transparent but won't be covered in fingerprints or dust and require cleaning.
the first pieces to be installed are the easiest

The metal mesh panel has been comprehensively powder coated


the tall panels protect both the lower landing and main floor stairwell opening

the basement bar also receives a panel


view from the top


Monday 20 October 2014

Fridge install

Install of the fridge was predictably a tricky process, and best left to someone with experience.  In this case we used the miele factory install crew to do the fridge, panels, handles, water connection, and final adjustments.

fridge is ready for install

doors are unpacked and and arranged 

doors and handles are on

powered up and ready to go

Saturday 18 October 2014

Appliance install underway

With significant progress made finishing the first house, we were able to arrange delivery and begin installation of the appliances.  The wall ovens were carefully fitted  in place and now we can get the fridge, dishwasher, cooktop and range hood installed.

Oven and speed oven are installed, all that remains is the electrical connection to be done at the  electrical final stage

Saturday 11 October 2014

Hardwood install part 3

A few additional details are worth noting in regard to the hardwood floor install. Rather than use typical metal hot air registers we were able to get them custom made using the actual matching wood.   All of the nosing are also made in site to match and ensure seemless transitions between surfaces. 


Tile progress part 5

With counters installed the kitchen backsplash can go on. An interesting Italian geometric tile is featured in this kitchen.  Only a small amount of tile work remains to finish this house. 


Thursday 9 October 2014

Quartz countertop install


The quartz installation is now well underway and the sinks, all undermount, can be installed as well.  An off white quartz was selected to complement and contrast the walnut cabinetry.  

Counter top in bar has been installed

A typical bathroom vanity counter top and sink. Our supplier has a nice square undercount sink that looks great

Tile fireplace


Pat has now applied the tile to the fireplace.  Next is sealing and grouting of the stone.  The soft stone involved in this install gave Pat an opportunity to use his wet saw.  Despite his complaints on the nature of the stone involved, the look is good.


Hardwood install part 2


The hardwood install is now nearing completion on the upper floor.  A wide plank european oak was selected with a rubbed oak finish.  The matte shade and rustic, textured look of the material is a nice contrast to the walnut cabinetry and modern tiles.  It should also take wear and tear much better than a high gloss smooth finish product.

the final look of the hardwood floor

nosing is added to complete the top of the stair